
Lesson #1

|
Page 4 <Back] [Home] [Next> |
Rag Quilt Jacket |
|
Bias Techniques to finish
Jacket
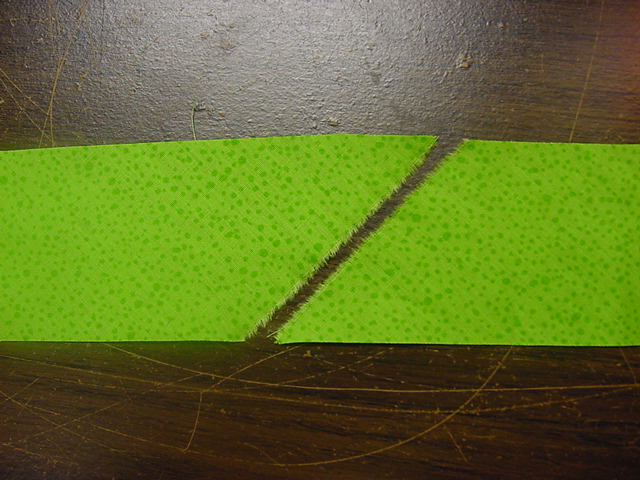
Cut enough bias strips to go around both sleeves and all the way around the jacket by 2 1/2". This picture shows you how the ends are cut so they can be sewn together.
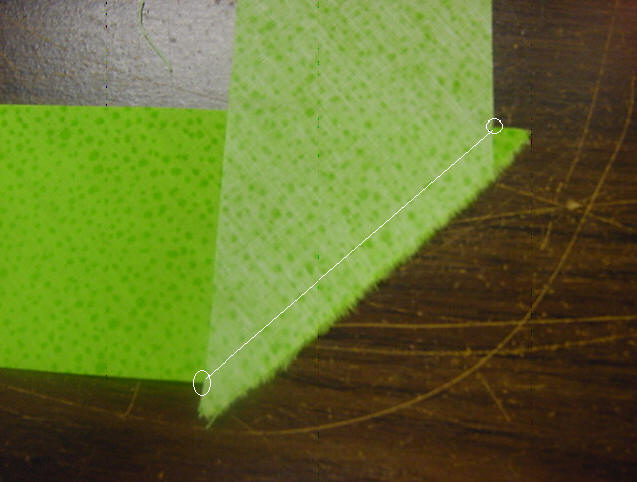
Now lay the strips right sides together as shown here.
The trick to connecting strips for a good bias is to follow the angle and sew from one join to another. Starting at one circle follow line and stitch off to the other circle.
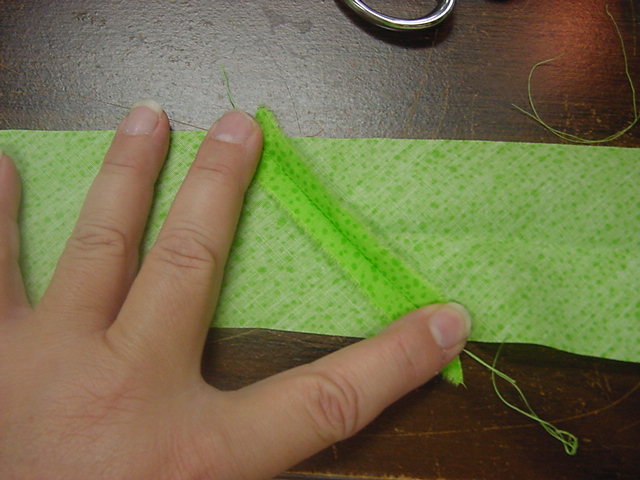
Press all seams open and trim even with strips. Fold over bias wrong sides together to achieve a bias on the fold, known to most as a French bias. Now your bias is 1 1/4" wide by the length you need.
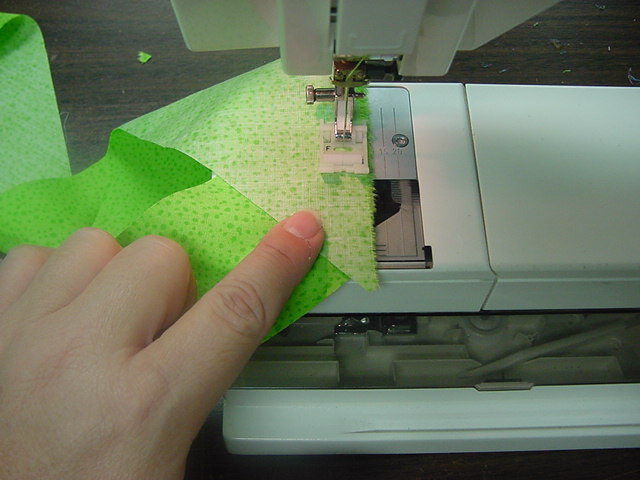
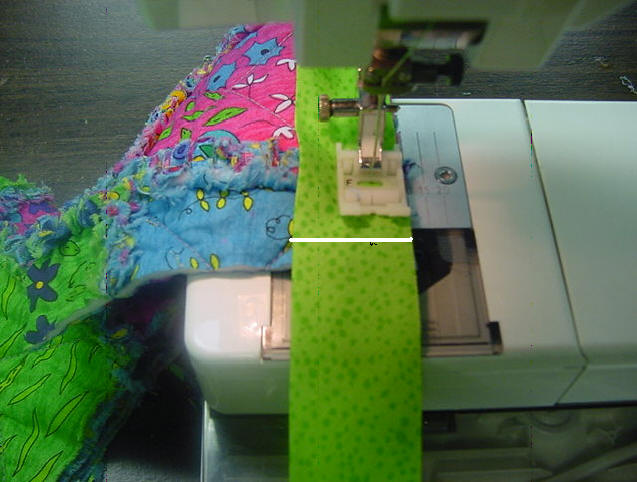
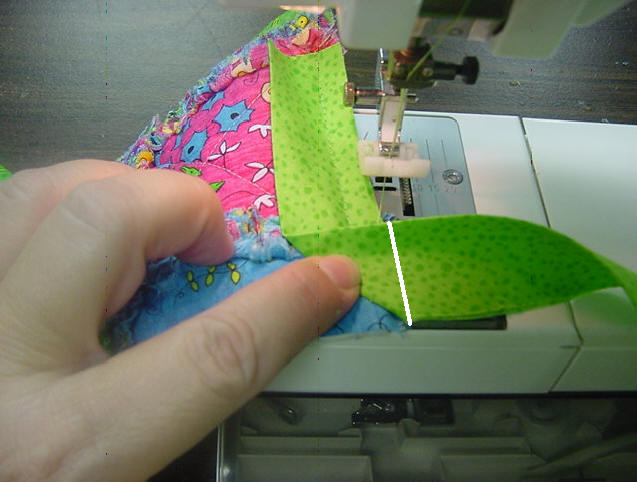
Sew bias on front side off Jacket all the way around sleeves and the outer edge of the Jacket. To miter the corners sew to 3/8" from the edge and stop, fold bias up as in next picture.
Fold back the bias at the white line shown above.
Start sewing again till the next corner! It's amazing how this really works!!
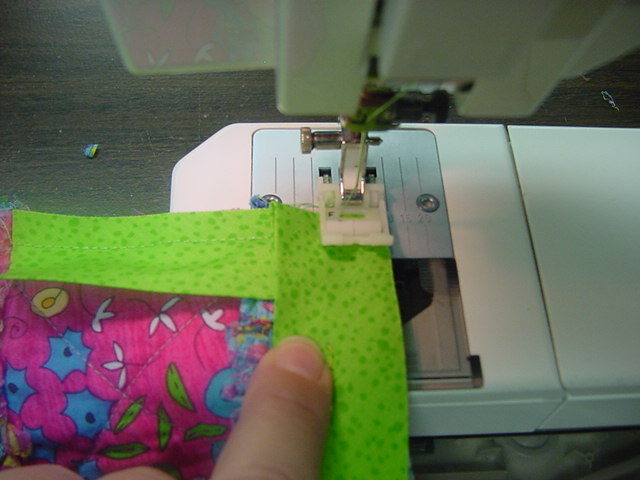
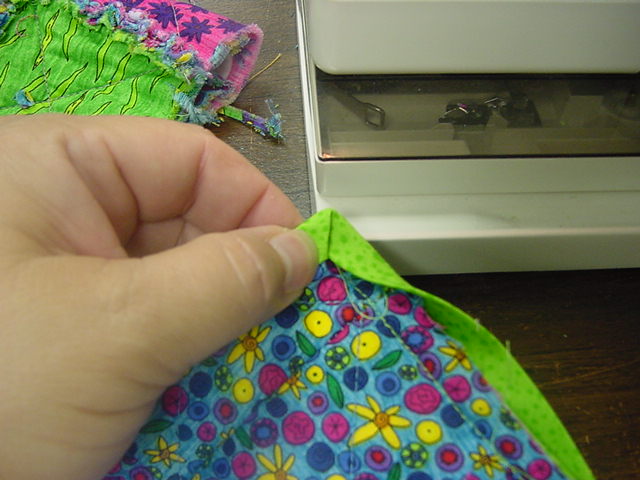
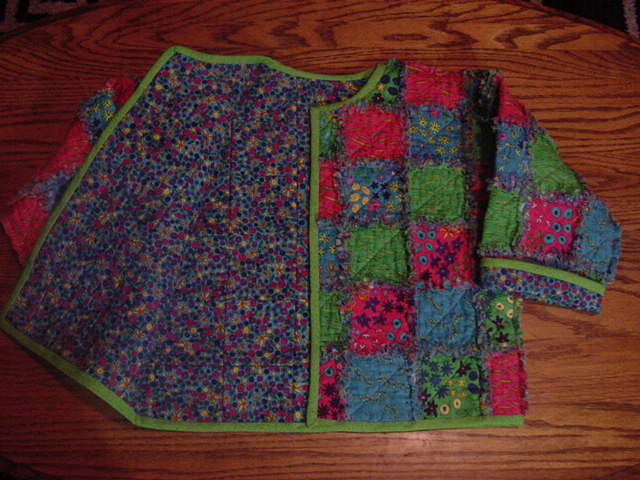
Fold bias over the edge and around to the back side, you have made a beautiful miter!!
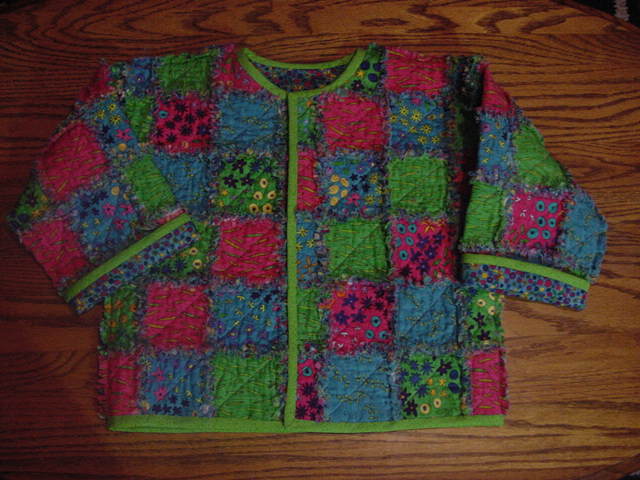
Blind hem the bias down and you are finished all but your buttons!! You have just finished a designer jacket! Priceless!!
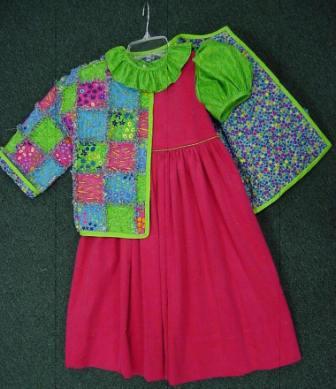
I'm going to finish my wrap jumper, made of the hot pink corduroy and the blouse from the lining material! What a great outfit!
|
|
| <Back] [Home] [Next> | |

|
[Merchandise]
[What's New]
[Shopping Cart]
[Scrapbook]
[About us] |