
Lesson #1
|
||||||||||||||||||||||||||||||||||||||||
|
Page 1 < Back] [Home] [Next > |
Rag Quilt Jacket | ||||||||||||||||||||||||||||||||||
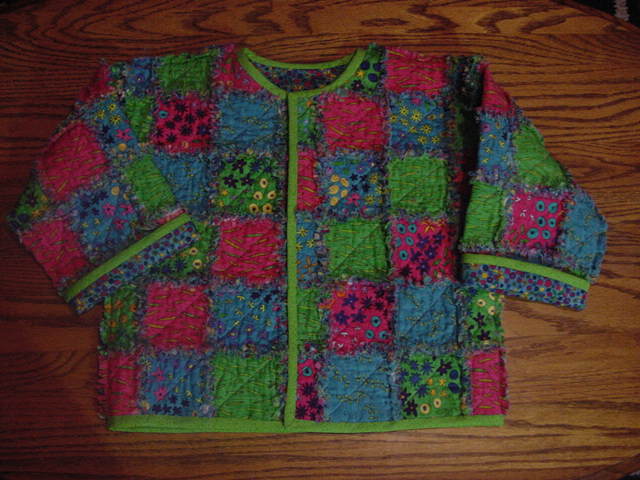
Lesson # 1 Rag Quilt Jacket
So many of you have asked about the techniques and the pattern for the Robin's Jacket in the scrapbook, here you go, hope you enjoy!
(May take extra time to load because of all the pictures)
Pattern used for the Jacket is by Children's Corner " Little Robin's Jacket" Material Requirements: Sizes: 1-4 15" of six complementary fabrics (5-8 you need 18") 64" of backing fabric (lining) 18" of contrasting fabric for bias trim of the jacket
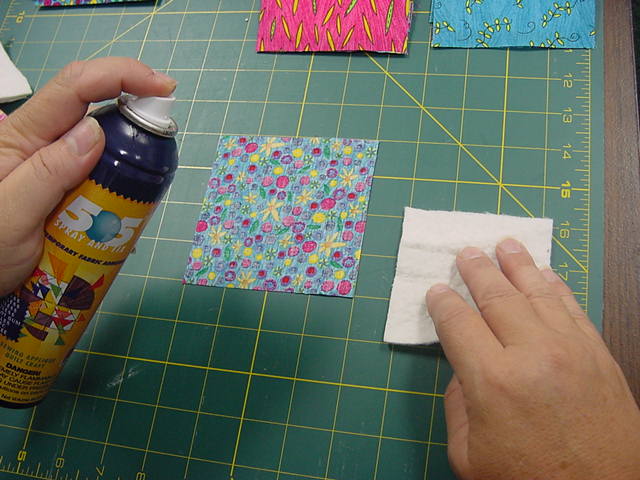
Notions needed: Cutting Mat, Grided Clear Ruler, Rotary cutter, 50 wt. cotton thread 1 to match backing and gray for the top quilting, 505 spray adhesive, 3 buttons of choice, Crib size batting Warm & Natural
Step #1 (Optional) Pre-wash all fabric. I did not pre wash my fabric because of the quality that I use. There is a lot of fabric in many stores that are muslin base and really needs to be pre-washed. I use a pima cotton base and there is rarely any shrinkage and this fabric will hold up to many washings.
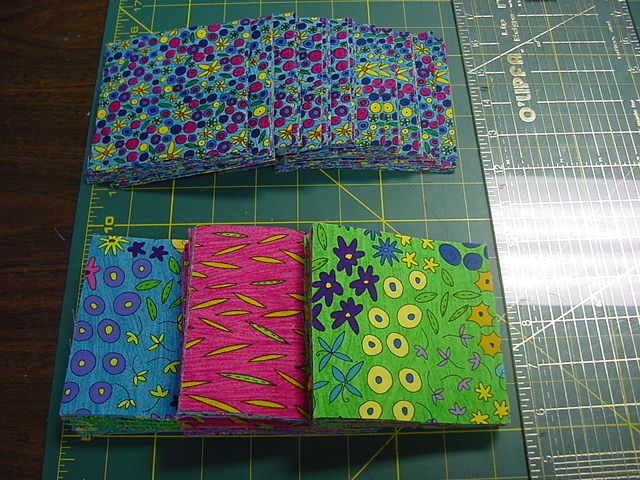
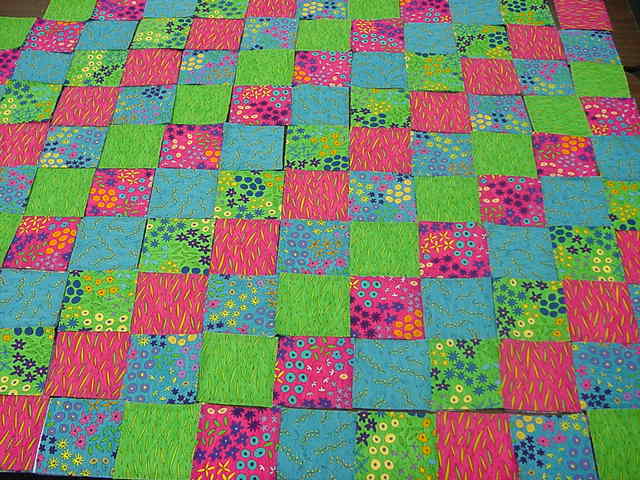
Step #2 Cutting Fabric & Batting I will pull all my fabric on grain and then spray starch and press. Being careful not to stretch the fabric as I press. I find starched fabric cuts very well with the rotary cutter. Sizes: 1-3 cut (17) 4" squares of each of the six complementary fabrics cut (120) 4" squares of the backing fabric cut (120) 3 1/4" squares of the Warm & Natural Batting Your finished quilt will be 12 squares wide and 10 squares high Sizes: 4-7 cut (24) 4" squares of each of the six complementary fabrics cut (144) 4" squares of the backing fabric cut (144) 3 1/4" squares of the Warm & Natural Batting
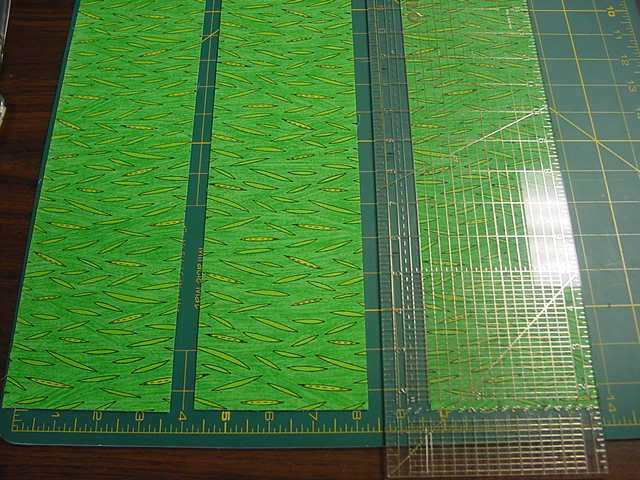
When cutting, first use your ruler's straight edge to get a clean straight line. Make good use of your lines on the mat as well as the lines on your ruler. With a good sharp blade you should be able to cut six layers at a time.
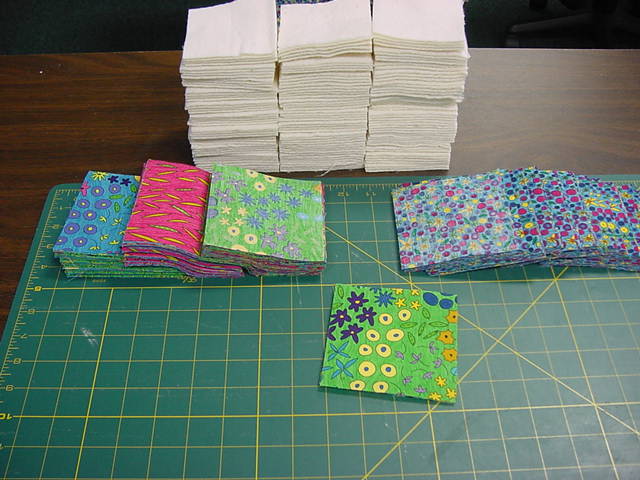
The top piles are the backing and the bottom 3 piles are the six different complementary colors.
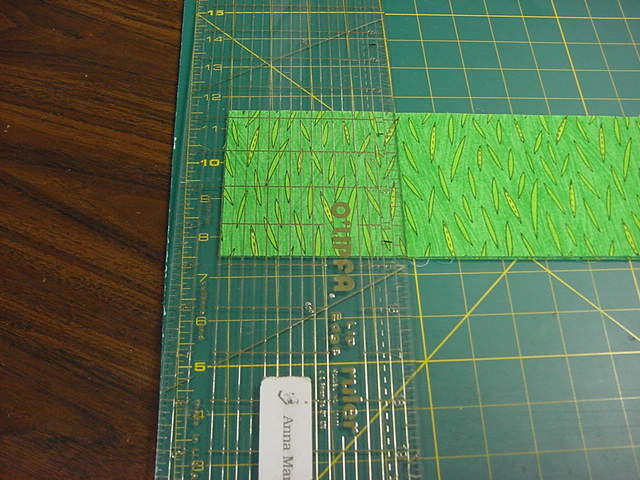
When cutting the batting don't forget that they are cut smaller than the rest!
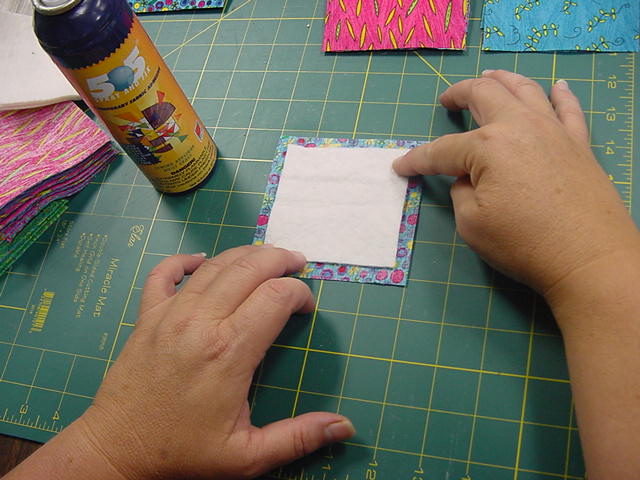
We are cutting the batting just large enough to get caught in the seams but small enough not to show! I have made other rag quilts where the batting did not get caught and when I washed over and over the corner curled between the fabric. YUK!
|
|||||||||||||||||||||||||||||||||||
| <Back] [Home] [Next> | |||||||||||||||||||||||||||||||||||


|
[Merchandise]
[What's New]
[Shopping Cart]
[Scrapbook]
[About us] |